
In 2007 I bought an 80GB 5th generation (late 2006) iPod for my wife. She was beginning to travel a great deal for work and we thought an iPod would be a convenient way for her to carry music, podcasts, and (what seemed amazing at the time) videos. I believe this model iPod was even referred to as the video iPod. This iPod has the older style 30-pin USB cable and a 3.5mm headphone jack. She carried it on both domestic and international trips. I don’t recall the iPod having a dedicated charger, so we charged it by plugging it into either our laptop or desktop computers. The battery life was pretty good. Apple specs the battery at 20 hours music playback and 6.5 hours video playback, so we didn’t have to charge it everyday. Once we got our iPhones in 2008 we used the iPod less and less until it ended up in a drawer for years. Our last two cars have had iPod connectivity, so the iPod migrated to the cars for the last four years. Despite the heat and cold of the automotive environment and being nearly 12 years old, the iPod is still going strong. Lately though with iPhones being available with up to 512GB of storage, I wondered if the iPod classic could be upgraded. There is an active community of iPod mod-ers and a marketplace of available replacement and enhancement parts and tools for iPods. In this post I will describe my experience upgrading our iPod.
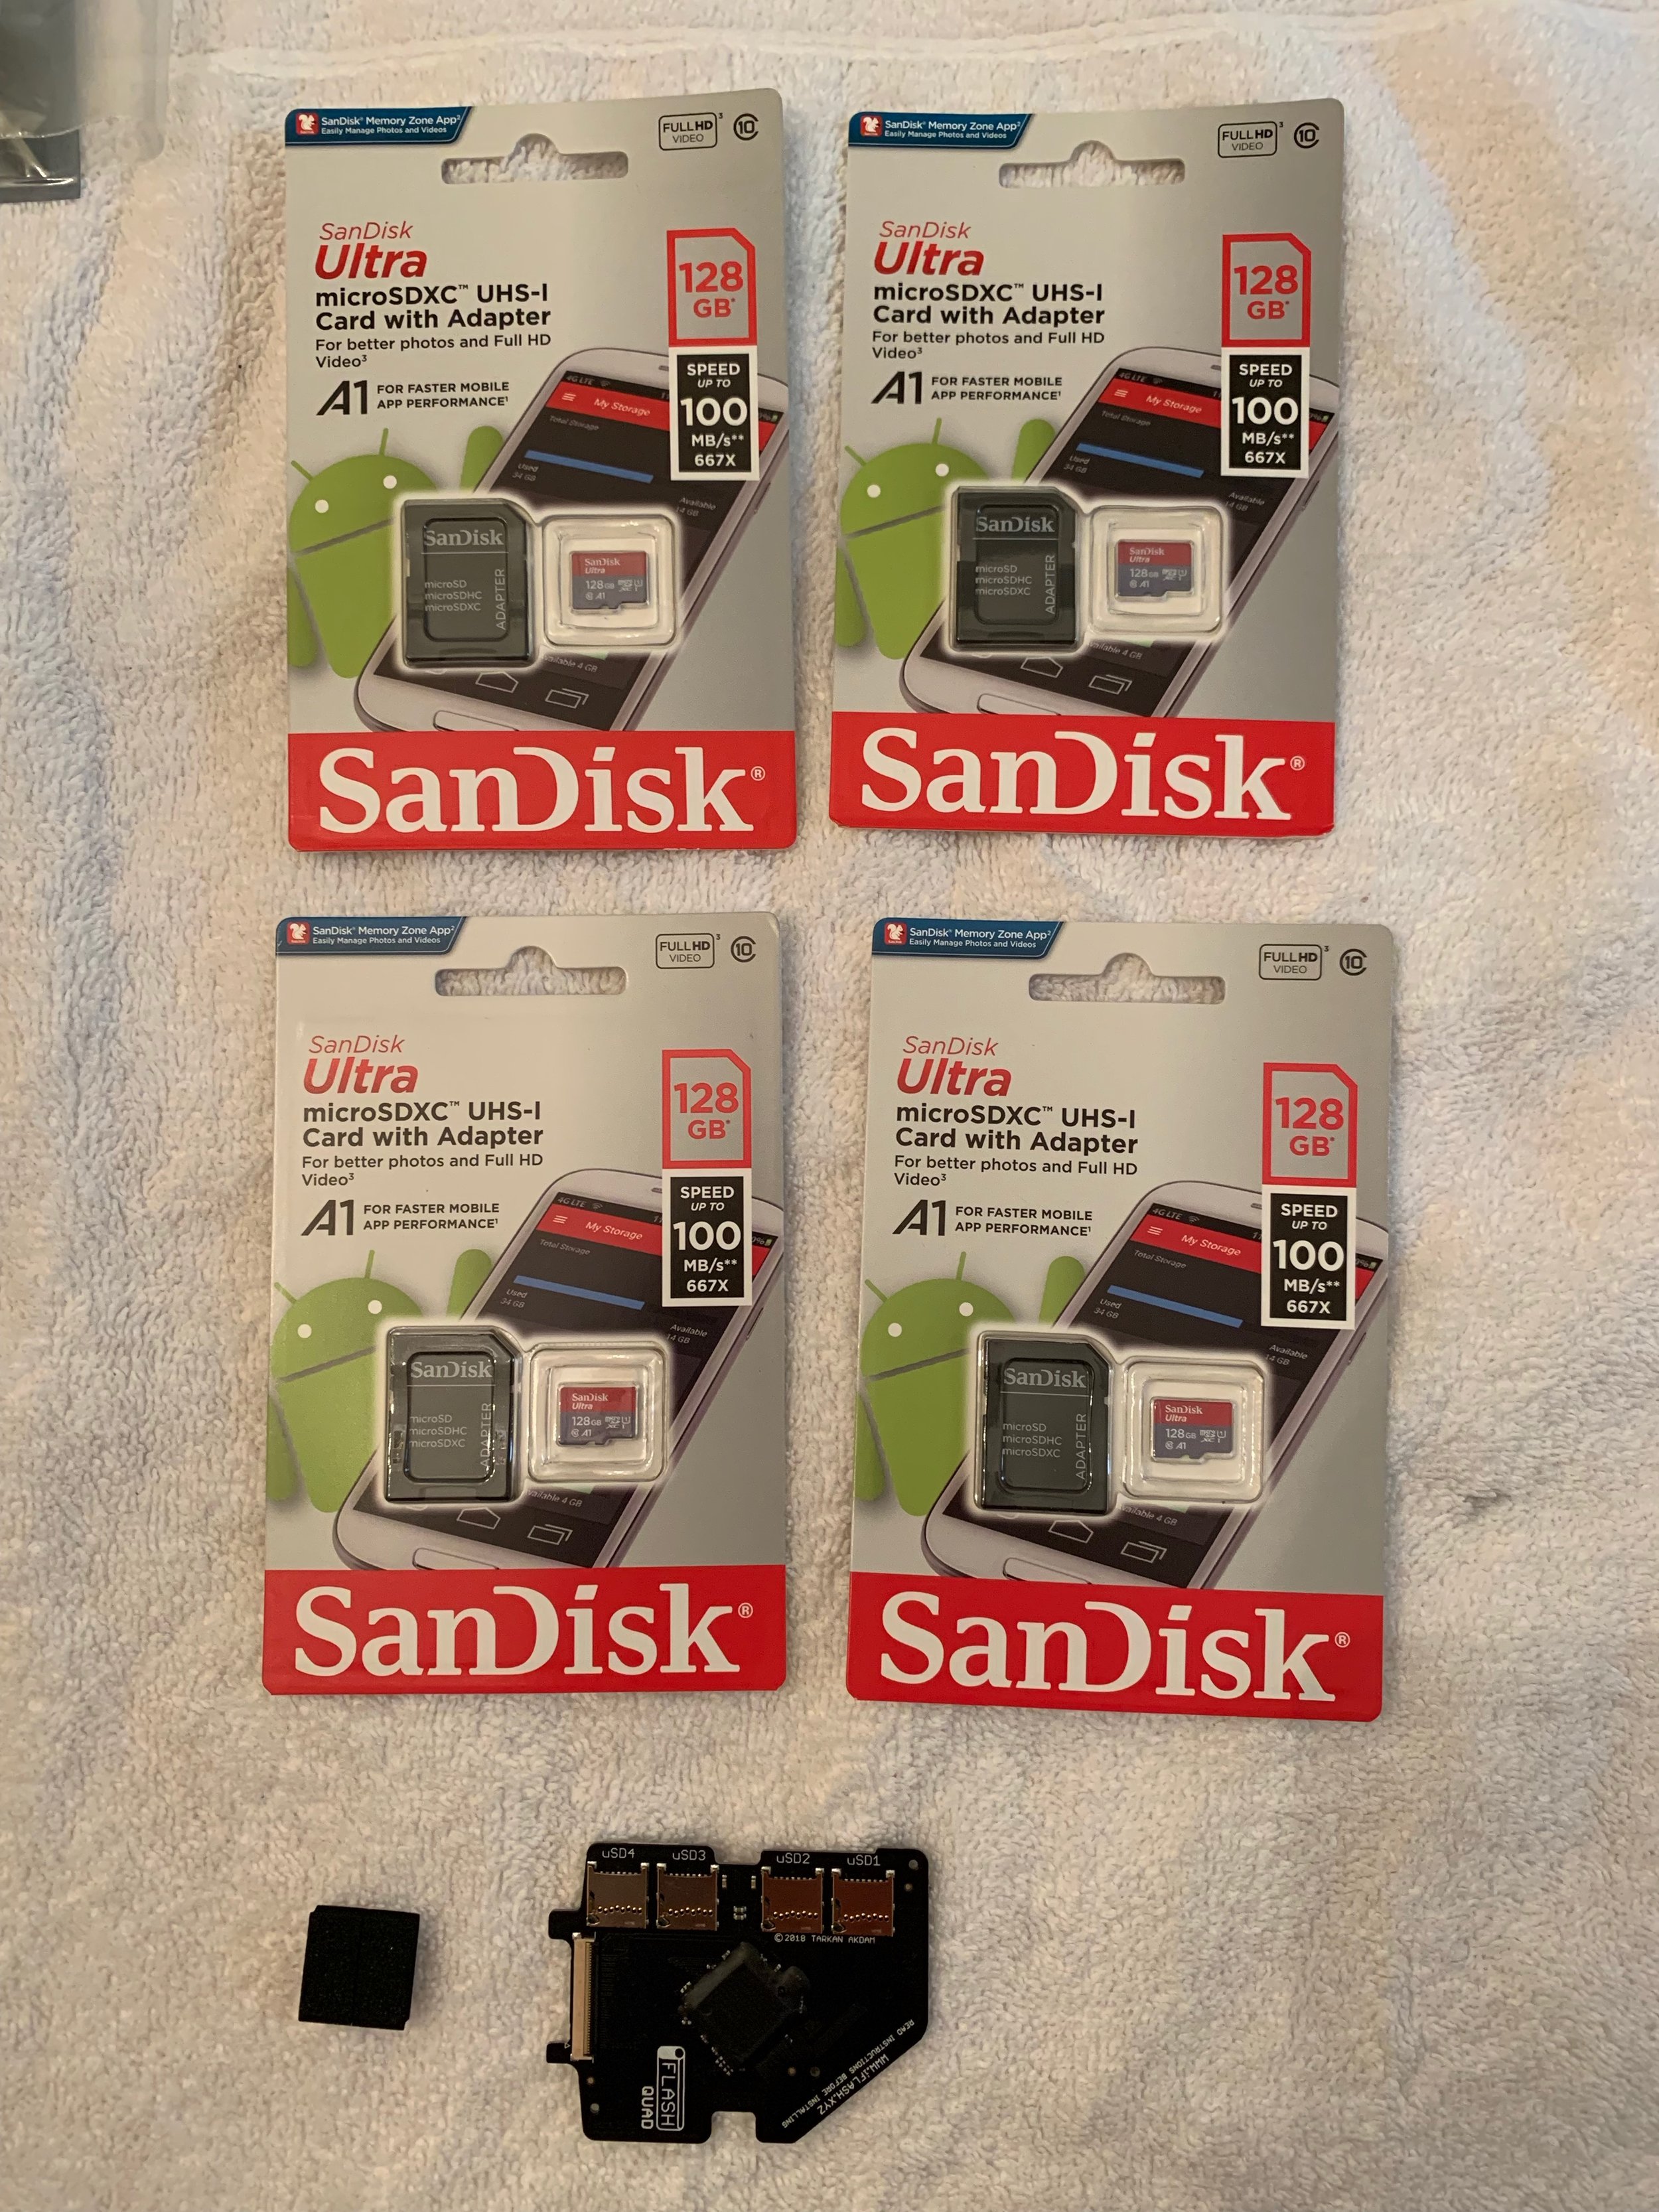
My first stop was an article on The Verge providing an overview of the process and links to vendors of replacement and upgrade parts and tools. From that site I knew I would need the proper tools to open the iPod, a replacement battery, and a replacement for the 80GB HDD. The battery and tools were available from iFixit. They really do a great job of helping you find the right battery for your model iPod. The tools to open the iPod are included with the order of the battery and the price was definitely right. I had been reading and seeing videos of people replacing the spinning HDD in an iPod with solid state memory. This lead me to purchase the iFlash-Quad from iFlash. The iFlash-Quad is a circuit board with four slots for microSD cards. Next I needed to purchase some microSD cards, but before doing so I double checked with the iFlash compatibility table to make sure our iPod could handle the memory I intended to install. Some models of the iPod classic can only address up to 128GB of storage for iTunes. I wanted to put 512GB of storage in ours, and fortunately our model can address all of it. I ordered four 128GB microSD cards from Amazon. It seems like 128GB is the pricing sweet spot for microSD cards. It would have been nice to go for 1 TB in the iPod, but the price differential was just too great.
With all the parts and tools in place. It was time to start. For a boost of confidence, I watched a couple more videos on YouTube on how to safely open an iPod classic.
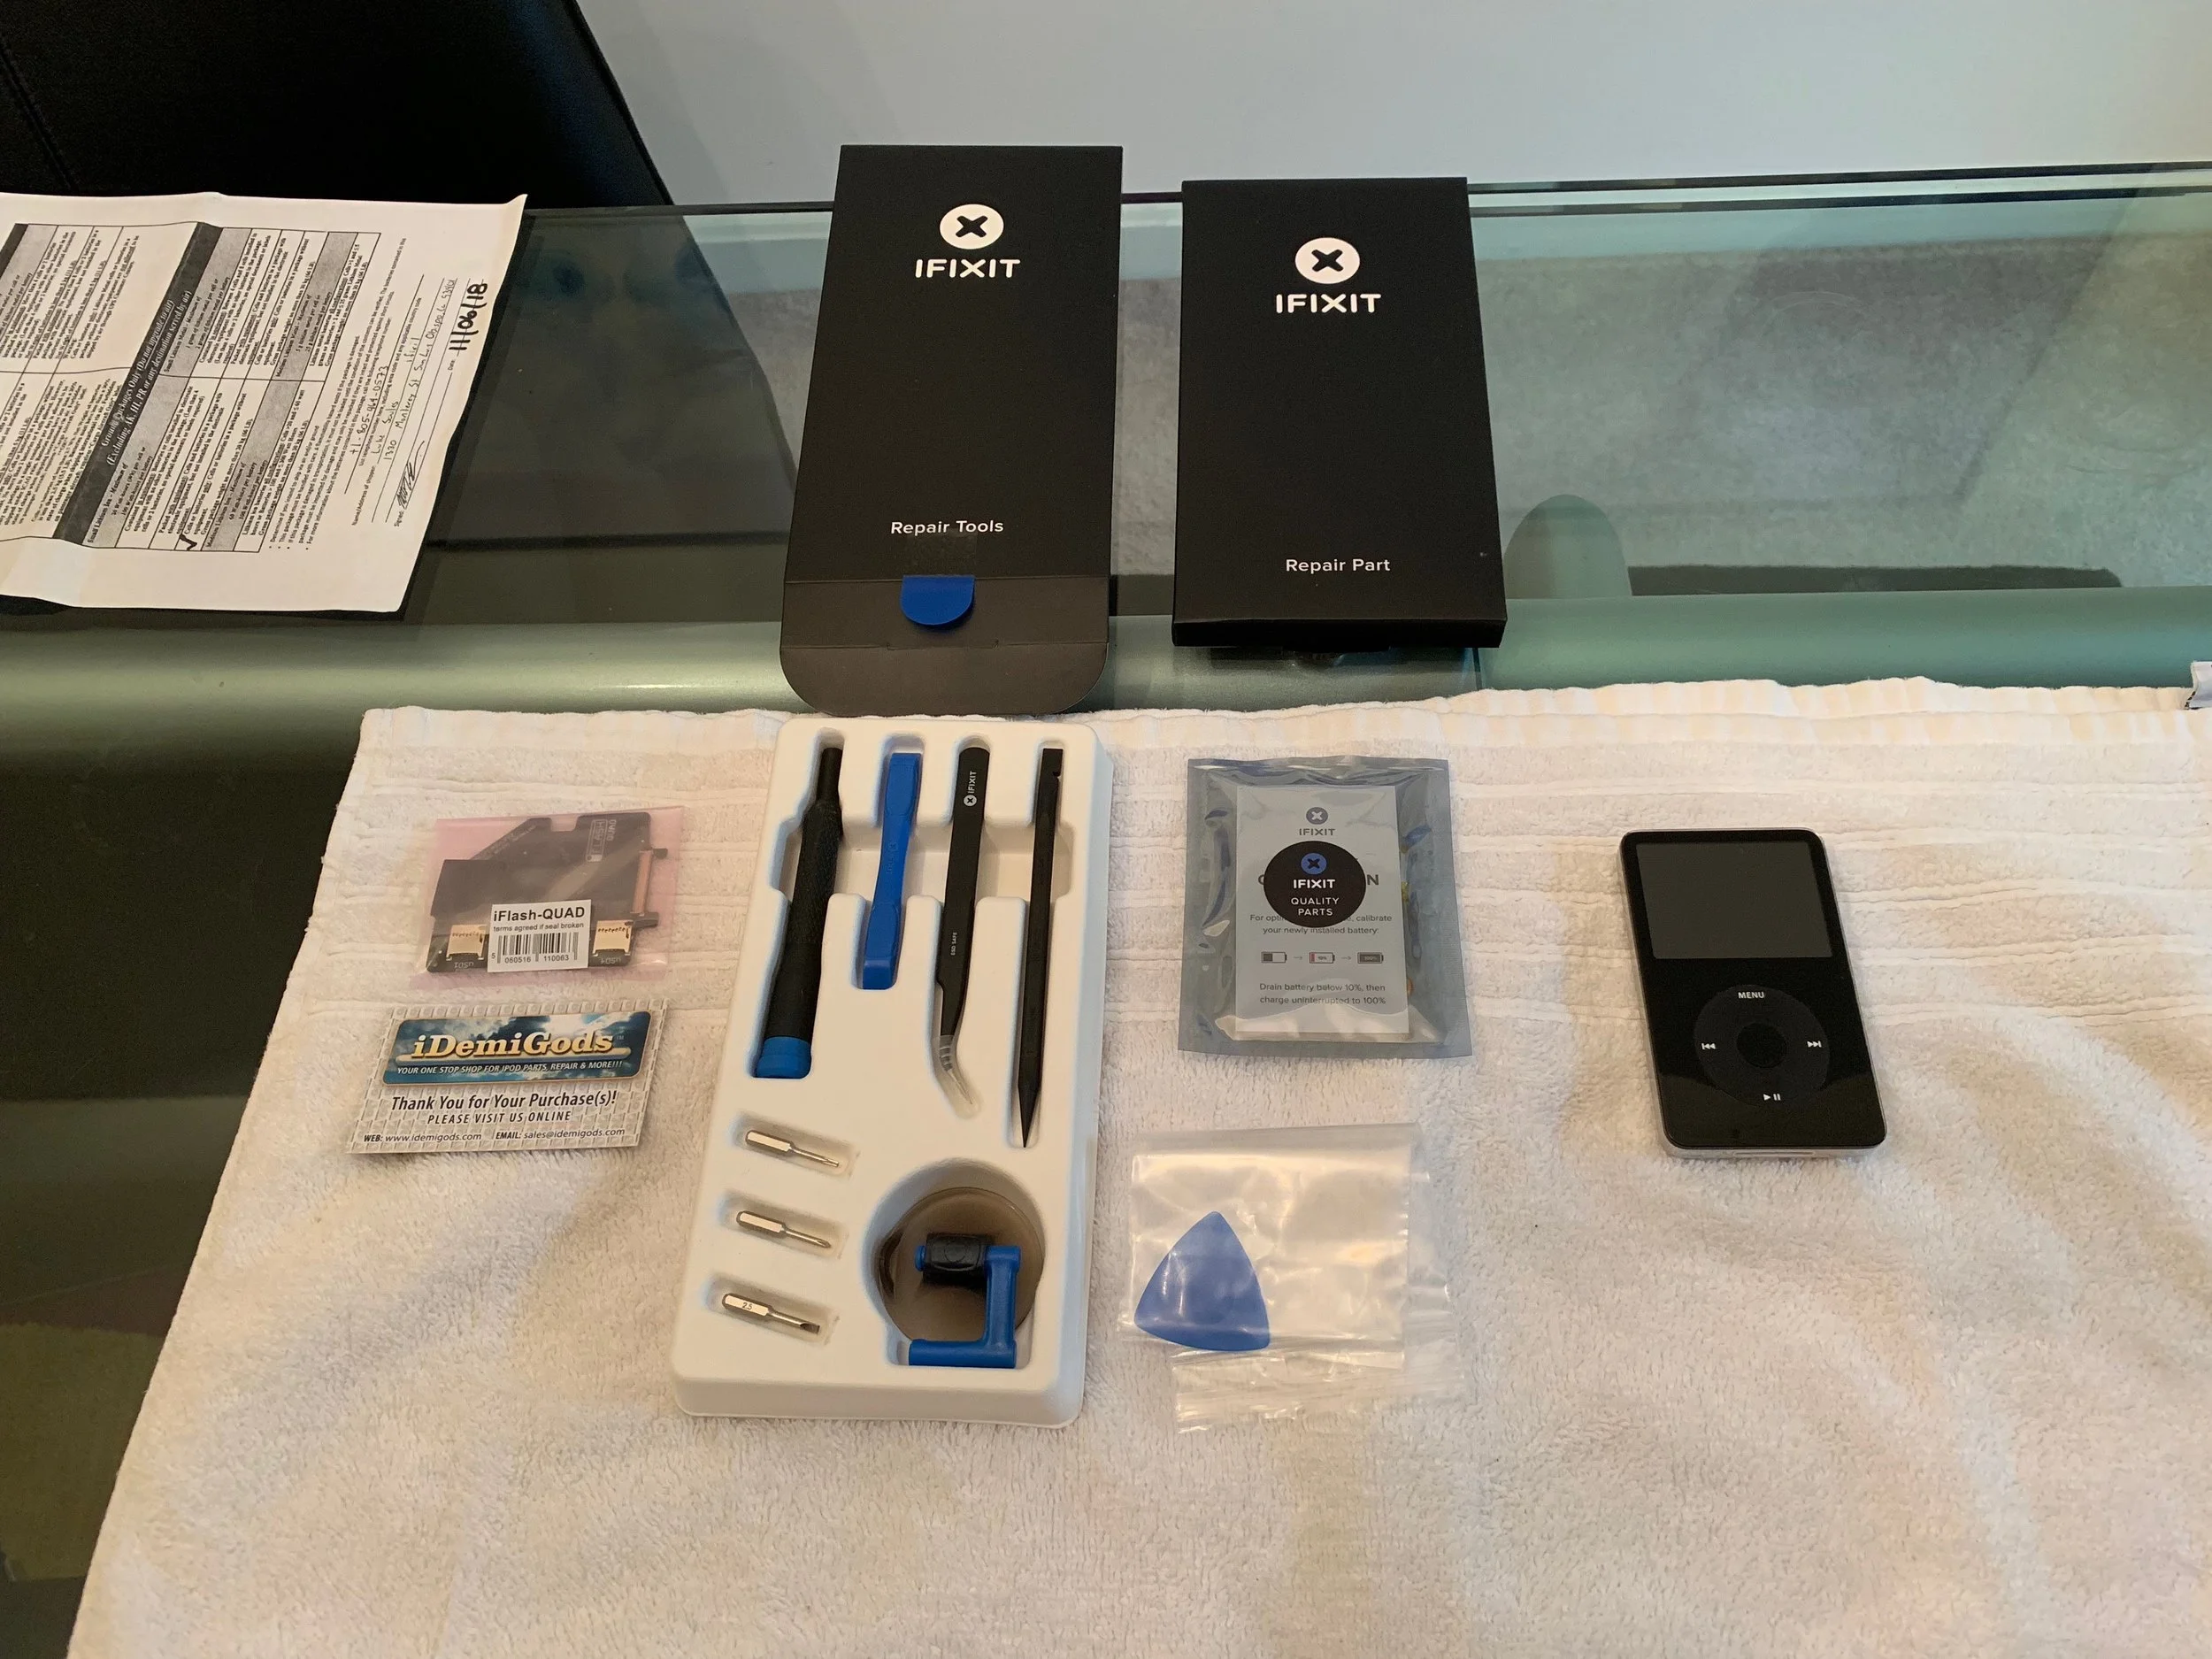
Replacement and upgrade parts, tools, and the iPod Classic 5th generation 80GB.

The specs of the iPod before any modifications.
The first step is to use the plastic pry tool to separate the steel back of the iPod from the plastic front. This has to be done carefully so as not to scratch the front. Take your time and slowly work the pry tool around all four edges of the iPod. Once you make one pass completely around the iPod the second (and maybe third) pass will be easier and you will be able to open the iPod like a book and remove the HDD.

The open iPod with original battery (cable disconnected) and the original 80GB HDD removed.
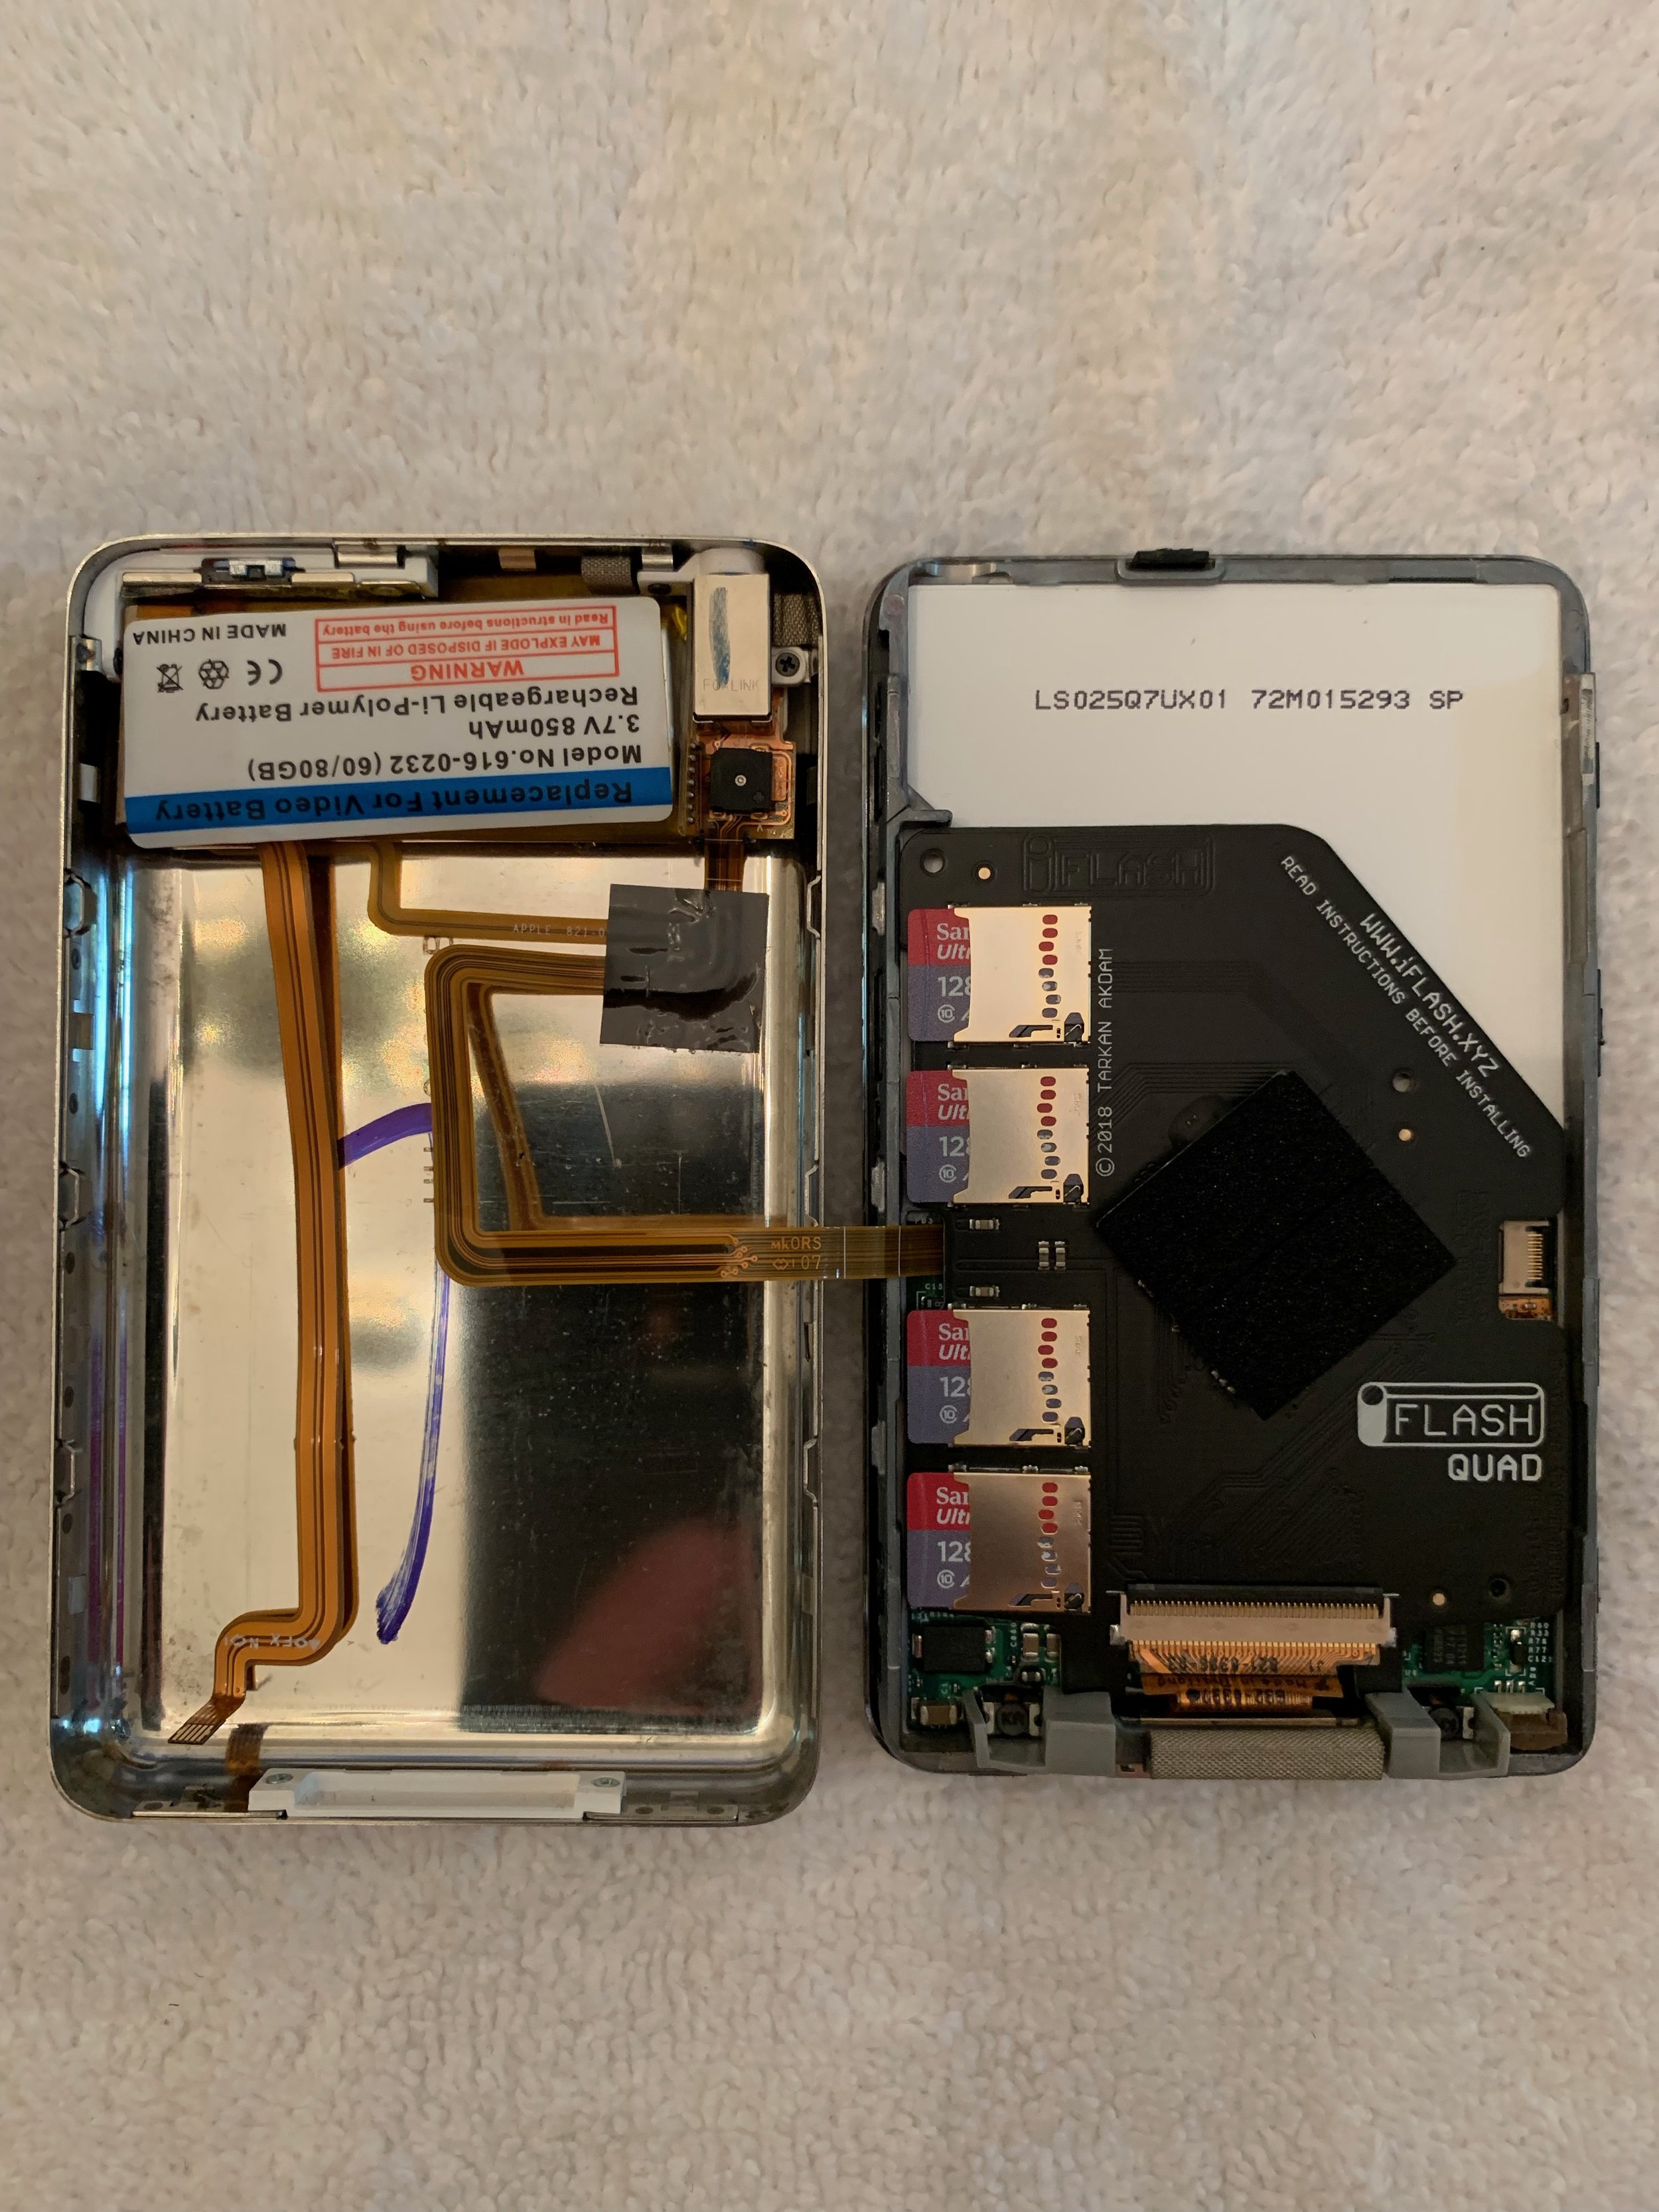
The second step is to carefully pry the old battery from the steel iPod back, remembering to stay clear of all the ribbon cables. Once the old battery is out, the new battery takes its place. The replacement battery already had an adhesive strip on one side to secure it to the steel back of the iPod.

Replacement battery installed.
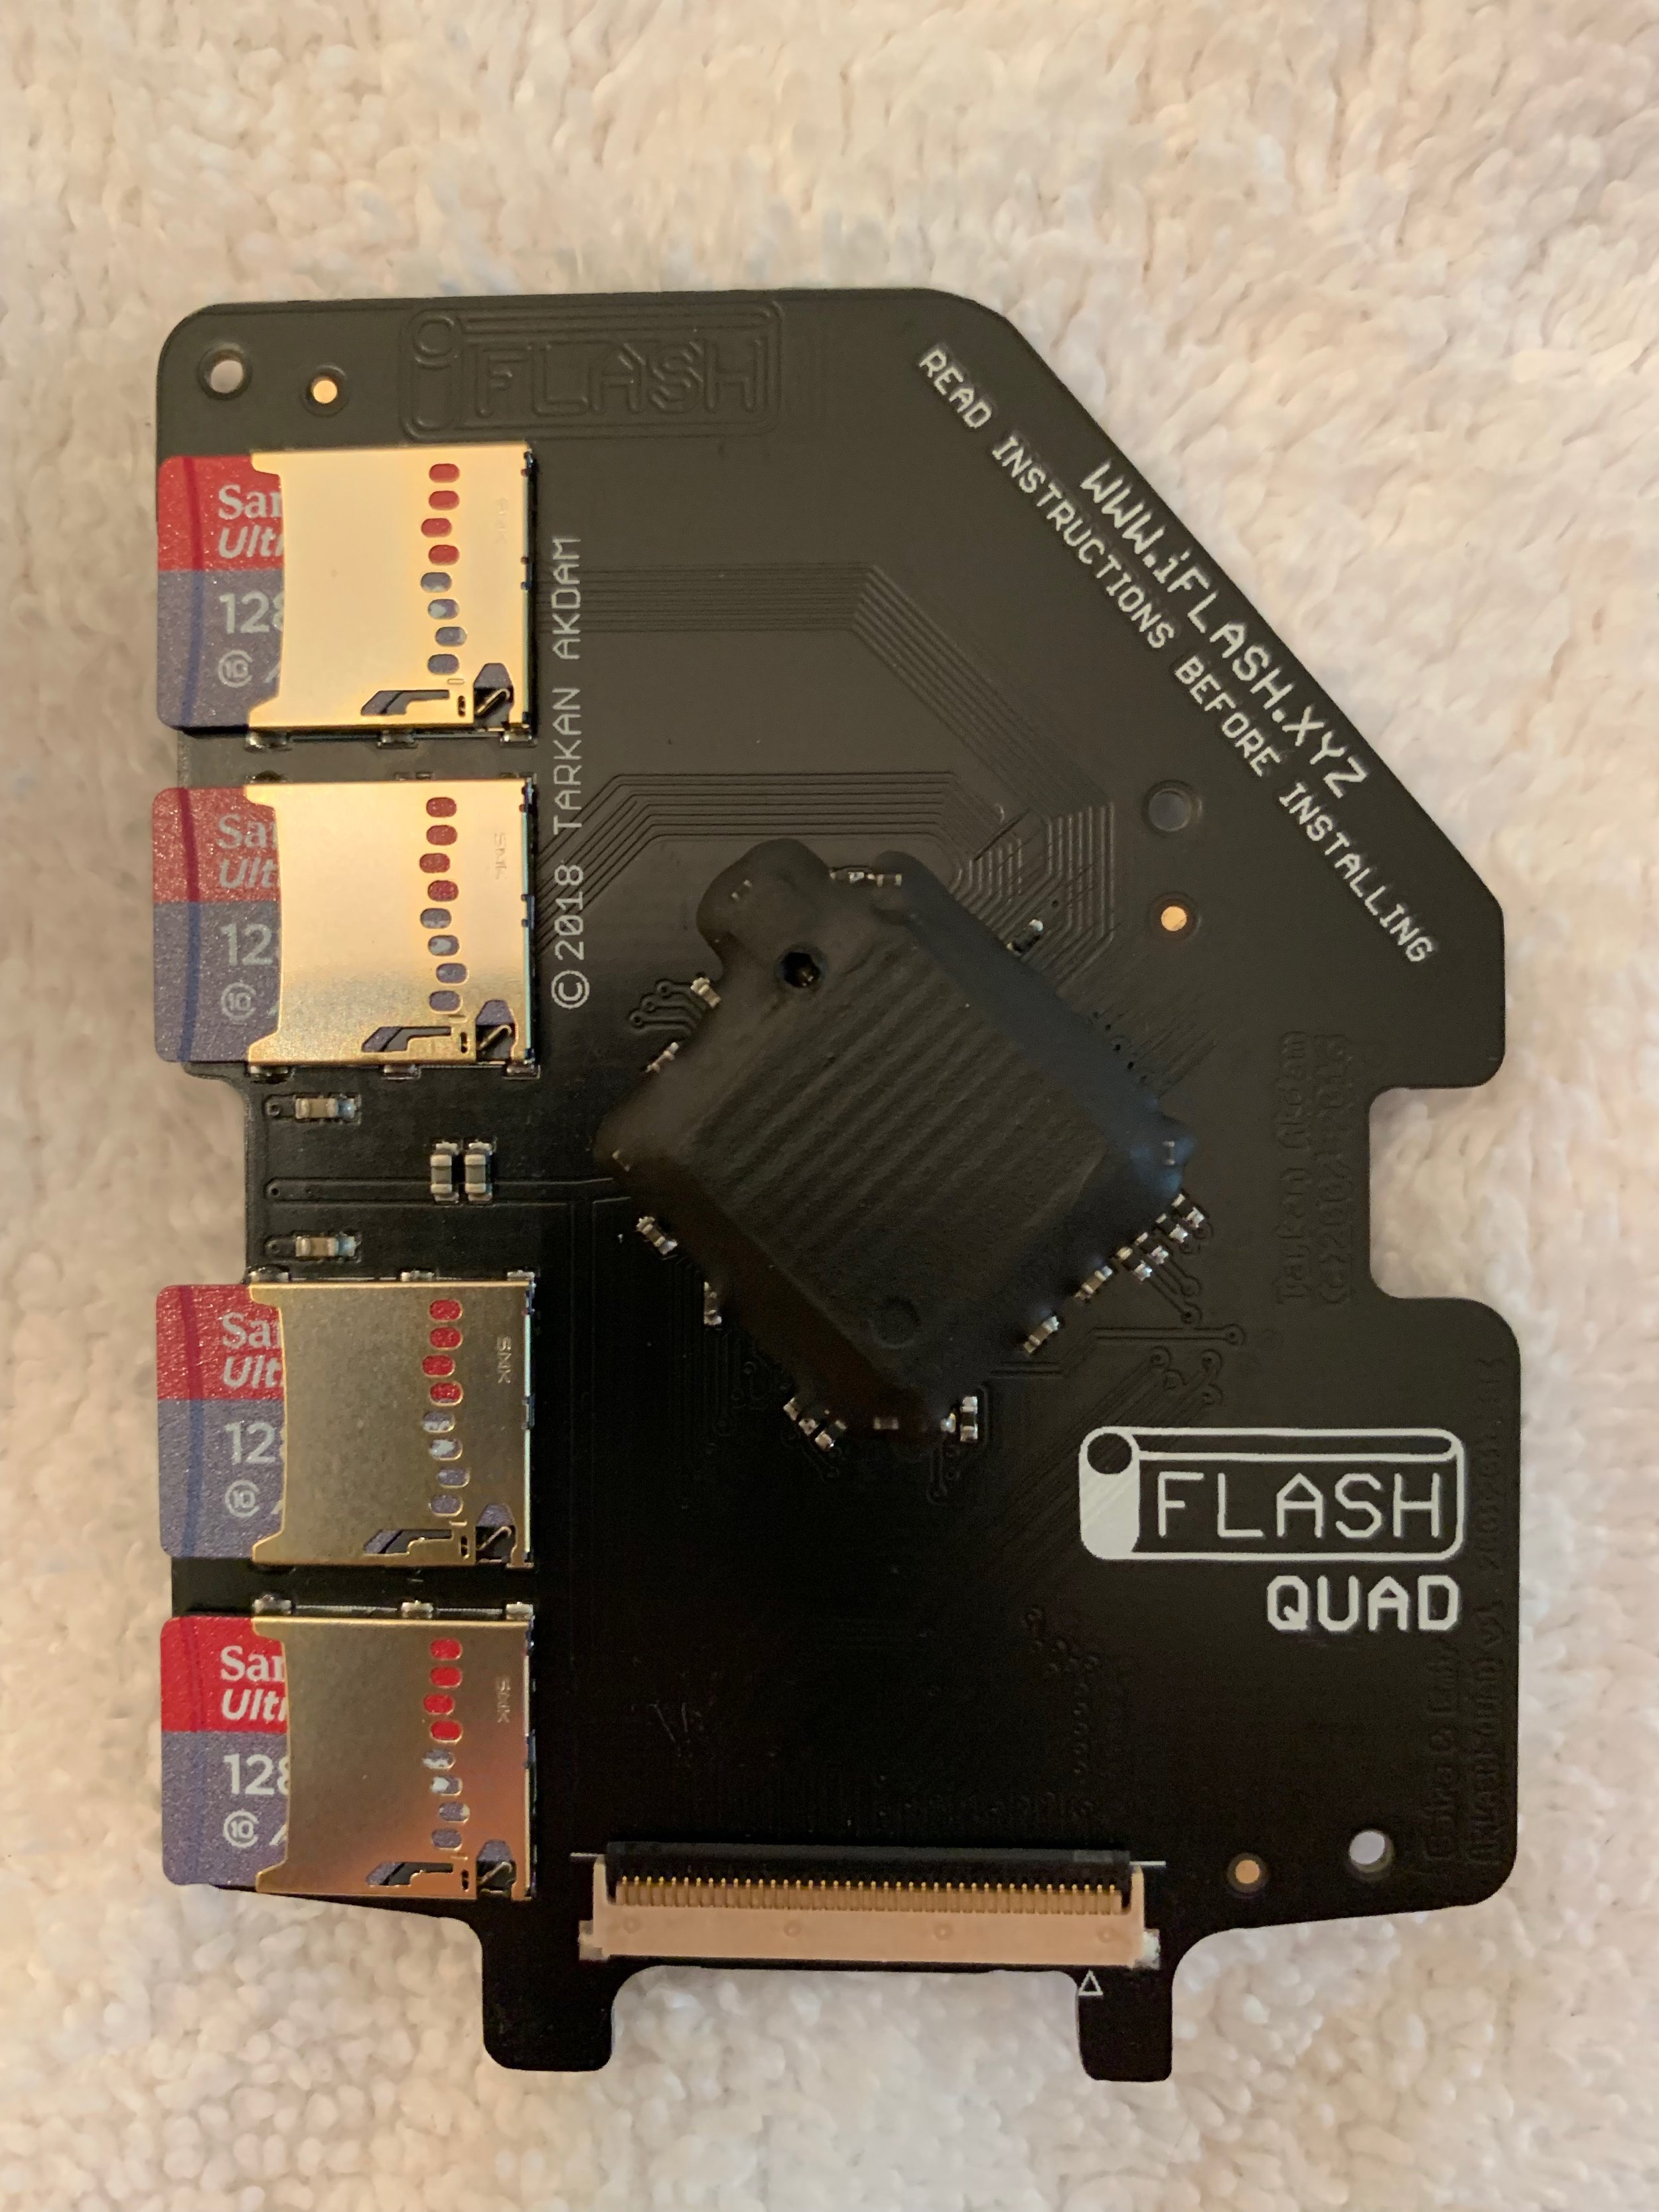
After the replacement battery was installed it was time to move on to upgrading the storage. Four 128GB microSD cards installed in the iFlash-Quad appears to the iPod as a 512GB HDD; however, it has no moving parts and weighs much less than the original 80GB HDD. Reconnecting the ribbon cable to the iFlash-Quad board was a little nerve racking as it was difficult to gauge how far the cable should be inserted in the connector. On the first try the cable immediately came loose. The second time I gently nudged the cable from a couple of different angles and positions to seat it. After closing the cable clamp it stayed in place.
The last step is to reconnect the battery’s ribbon cable. I crossed my fingers as I closed the back of the iPod (without pushing it all the way closed in case I needed to open it again to fix a problem). I pressed the home button on the front to see if anything would and got just the result I was hoping for.

This screen means the iPod is still alive and ready to be restored by connecting it to a computer and using iTunes.
Now I could press the steel back of the iPod firmly into place and connect the iPod to a computer and iTunes. The software recognized the iPod immediately but said that the HDD needed to be formatted and restored. After pressing the “Continue” button a few times and waiting about two hours for all the files to be copied over at USB 2.0 speed, we had our upgraded super-iPod 5th generation (late 2006) with 512GB of solid state storage, a new battery, and plenty of space for music, photos, and video.

The finished product, a 5th generation iPod Classic fully updated for 2018.